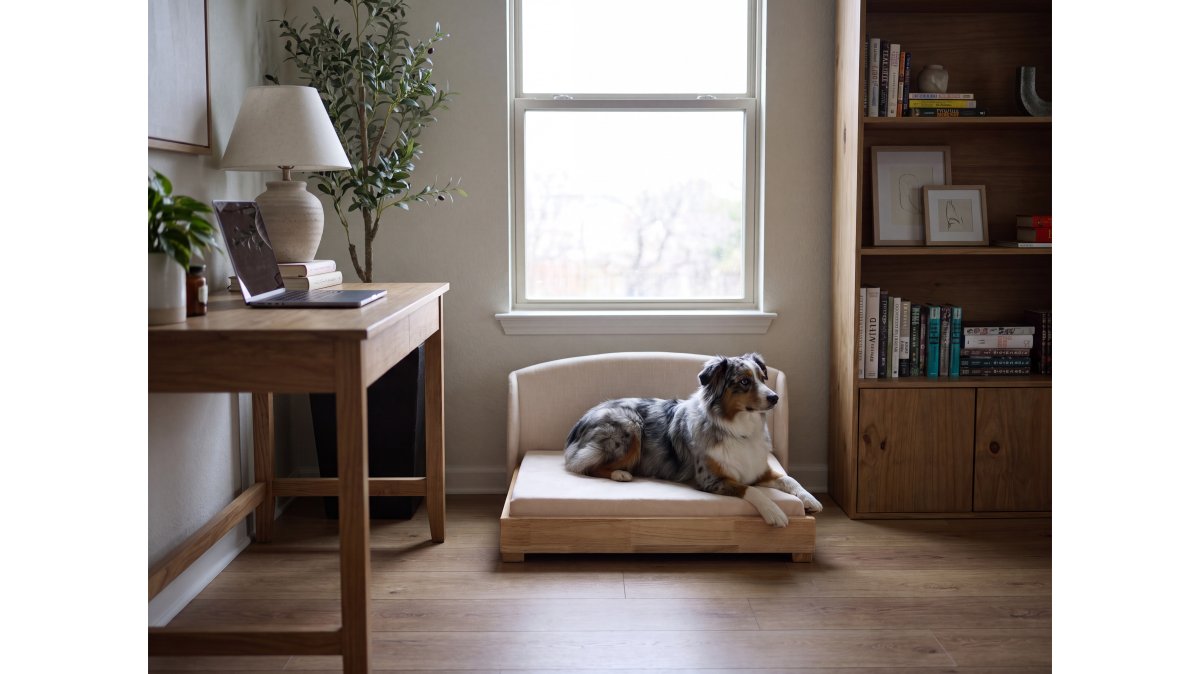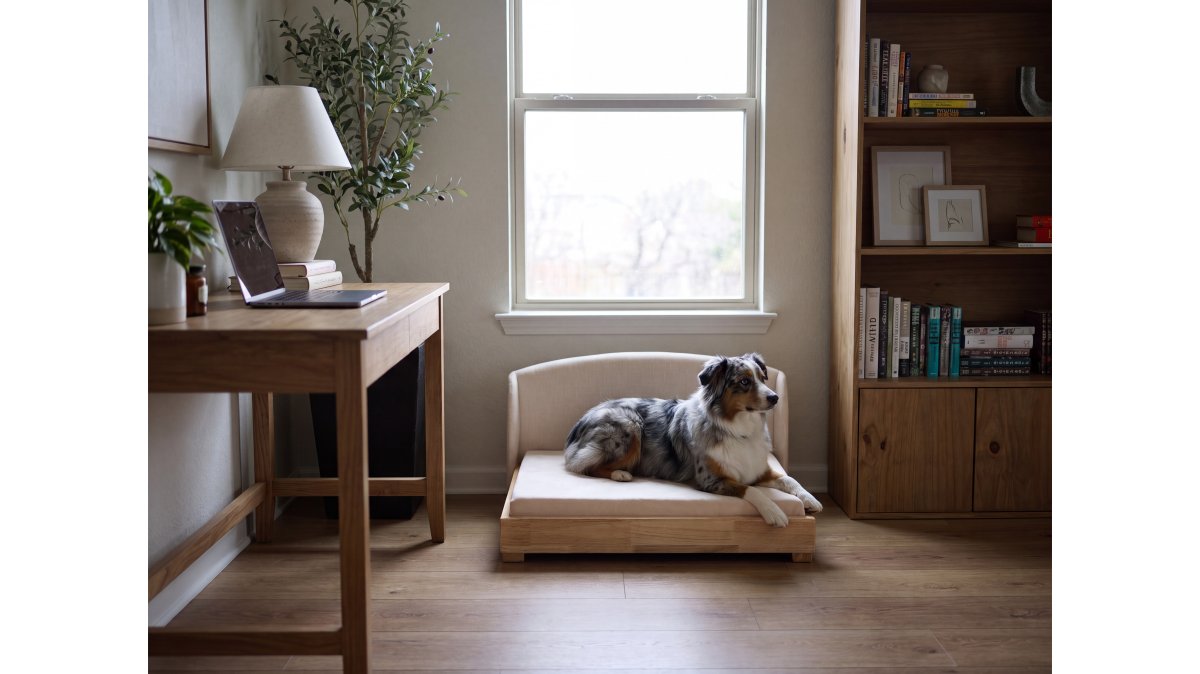
Maintaining Hardwood Dog Bed Frames: 2026 Care Guide
Table of Contents
- Why Hardwood Dog Bed Frames Need a Different Care Routine
- What You'll Need: Supplies for Maintaining Hardwood Dog Bed Frames
- Weekly and Monthly Routines for Hardwood Dog Bed Frames
- Choosing a Pet-Safe Wood Polish for Your Dog Bed Frame
- Preventing Water Damage on Dog Beds: Liners, Bowls, and Spills
- Repairing Scratches on Hardwood Frames Without Harsh Chemicals
- Long-Term Wood Preservation and Structural Integrity Checks
- Common Mistakes That Damage Hardwood Dog Bed Frames
- Frequently Asked Questions
Last Updated: September 13, 2026
Why Hardwood Dog Bed Frames Need a Different Care Routine
Maintaining hardwood dog bed frames isn't like wiping down a fabric cushion. Wood moves, breathes, and reacts to moisture, and a dog bed sits in one of the harshest microclimates in your home: close to the floor, near water bowls, and under a shedding, scratching animal. At Mafé Pets, frames are built from solid North American hardwood with real joinery.

A solid wood frame can last a decade or more with a modest routine; a neglected one can cup, crack, or loosen at the joints within a couple of seasons. The routine takes about fifteen minutes a week.
What You'll Need: Supplies for Maintaining Hardwood Dog Bed Frames
Most are household staples, and none require harsh chemicals around your dog.
- Vacuum with a soft brush attachment and a crevice tool
- Two microfiber cloths, one damp, one dry
- Mild detergent diluted in warm water
- Apple cider vinegar for odor neutralization
- Pet-safe wood polish or a hardwood-safe conditioner
- Wood-safe filler stick or wax pencil for scratch repair
- Small flashlight for inspecting joinery and the underside
Weekly and Monthly Routines for Hardwood Dog Bed Frames
Weekly care takes about ten minutes; monthly care adds twenty to thirty.
Weekly:
- Vacuum the frame's flat surfaces and crevices with the brush attachment
- Wipe with a damp cloth and mild detergent, then dry immediately
- Check the mattress liner for accidents and wash the cover if needed
Monthly:
- Inspect joinery, legs, and the underside with a flashlight
- Apply pet-safe polish or conditioner to dry-looking areas
- Tighten any hardware and check for wobble
- Vacuum under the bed and around the base
Dusting, Vacuuming, and Inspecting Joinery
Dust first, always. A dry microfiber cloth or the vacuum's brush attachment lifts hair and grit before it gets ground into the finish.
Then inspect: run your hand along each joint and press gently on the corners. A well-built frame with real joinery should feel rigid. If you feel movement, tighten the hardware or note it for repair.
Finish by checking the underside, where moisture collects first and most owners never look.
Choosing a Pet-Safe Wood Polish for Your Dog Bed Frame
The best pet-safe wood polish for a dog bed frame cures hard, contains no petroleum distillates, synthetic fragrance, phenol, or drying solvents, and is labeled for surfaces a pet may lick. That's a narrower list than most furniture-care aisles suggest.
Conditioning oils (penetrating). Linseed, tung, and walnut oil soak into the grain and replenish natural oils that dry out over a heating season. Raw linseed oil can take days to cure; polymerized tung oil cures faster and harder. These suit an oil-finished frame that looks dry or faded, but they are not a topcoat, they won't stop a puddle from soaking in.
Wax finishes (surface). Beeswax and carnauba blends sit on top of the wood, add a soft sheen, and give you a sacrificial layer that wipes off with the next cleaning. They're the safest choice around a dog because the ingredients are food-adjacent and the film is thin. The trade-off: reapply every four to eight weeks on a bed with daily use.
Film-forming sealants (polyurethane, varnish, lacquer). These are what most factory-finished hardwood frames already wear. Once cured, a modern water-based polyurethane is inert and chew-resistant, the standard for furniture in homes with pets. You don't polish a polyurethane finish, you clean it and eventually recoat it. Applying oil over polyurethane is a common mistake; the oil can't penetrate and sits on the surface attracting dust and hair.
What to avoid. Anything with phenol, ammonia, bleach, silicone, or "lemon fresh" synthetic fragrance. Silicone builds up in the grain, makes future refinishing nearly impossible, and leaves a slick film that collects pet hair. Aerosol polish is the worst offender because the propellant carries residue into crevices you can't wipe out.
How to tell what finish you have. Rub a drop of mineral oil on an inconspicuous spot. If the wood darkens and absorbs it, you have an oil finish; if the oil beads, you have a film finish. Match your product to the finish, never the reverse.
Application, step by step.
- Vacuum and wipe the frame dry. Never apply product over dust or hair.
- Test on the underside or a back leg first, and let it sit 24 hours.
- Apply a thin coat with a lint-free cloth, working with the grain, not across it.
- Let it absorb or cure per the label, typically 15 to 30 minutes for wax, 24 hours or more for oil.
- Buff off all excess with a clean dry cloth. A tacky surface means you used too much.
- Keep the dog off the frame until the surface is dry to the touch and odor-free.
Here's what most guides miss: dogs lick their beds, and anything on the frame can end up in a dog's mouth. The ASPCA's animal poison control guidance is a useful reference when you are unsure whether an ingredient is safe. When in doubt, choose a product whose label lists ingredients you recognize and that carries a food-contact or child-safe designation.
Matching the Finish to the Frame's Original Build
If your frame came with a factory finish, maintain that finish rather than layering a different product on top. A water-based polyurethane topcoat can be cleaned with a damp cloth and mild soap indefinitely; it only needs recoating when the surface looks dull or you can see bare wood through worn spots. An oil-finished frame wants a light re-oil every few months and a full re-oil once a year. Knowing which camp your bed falls into tells you whether your monthly fifteen minutes goes into a polish cloth or a cleaning cloth, and prevents the most common mistake, sealing an oil finish under a wax film it can't breathe through.
Preventing Water Damage on Dog Beds: Liners, Bowls, and Spills
Preventing water damage on dog beds comes down to three things: a waterproof liner, bowl placement, and fast cleanup.
Water is hardwood's main enemy: it swells the grain, lifts the finish, and eventually causes warping no polish can fix. A waterproof liner protects the mattress, but the frame needs its own defense.
- Place water bowls at least a few feet from the bed
- Wipe up spills immediately with a dry cloth
- Use a coaster or mat under the bowl to catch drips
- Check the frame's feet after mopping floors
Mafé Pets builds every bed with a waterproof liner and a machine-washable cover. The frame side is on you, and it's mostly about speed.
Repairing Scratches on Hardwood Frames Without Harsh Chemicals
Repairing scratches on hardwood frames starts with a simple test: run a fingernail across the mark. If it catches, the scratch has cut through the finish into the wood; if it glides over, the damage is in the finish layer only. That distinction determines the fix.
Finish-only scratches (nail glides over). These are the easy ones. A drop of mineral oil, a walnut half rubbed along the grain, or a wood scratch marker matched to your frame's tone will usually hide them. Buff with a soft cloth afterward. Do not sand, you'll cut through the surrounding finish and create a visible halo.
Wood-deep scratches (nail catches). These need filler. A wax filler stick in a matching tone is the least invasive option: warm it slightly, press it into the scratch across the grain, then shave the excess flush with a plastic card and buff along the grain. For deeper gouges, a two-part wood filler tinted to match works better, but it must be sanded flush and re-sealed, which means a spot refinish. Work in small increments and check the color in daylight before committing.
Chew marks. Dogs chew corners and rails, and chew damage is rarely a clean scratch, it's compressed, splintered, or missing wood. Light chew marks where fibers are crushed but intact can sometimes be raised with a damp cloth and a warm iron held briefly over the spot (moisture swells the compressed fibers back up). Deeper chew damage needs filler and a spot sealant. If the chew has exposed raw wood at a joint, treat it as structural, not cosmetic.
Urine stains and odor in the wood. Urine is the hardwood frame's worst enemy because it's both acidic and wet. If it reaches bare or thinly finished wood, it darkens the grain and leaves an odor no surface wipe removes. Blot immediately, clean with a diluted white vinegar solution (one part vinegar to three parts water), let it dry completely, then re-seal the spot. For set-in odor, an enzyme-based pet cleaner for hard surfaces can help, but it must dwell and fully dry before any finish goes back on. Never seal over a damp or odorous spot, you'll trap the problem under the finish.
Grain raising. When water touches bare wood, the grain fibers stand up and the surface feels rough. A light pass with fine sandpaper (220-grit or higher) along the grain, followed by a tack cloth, smooths it. Don't over-sand; the goal is to knock down raised fibers, not reshape the wood.
What not to use. Steel wool leaves tiny metal fragments that rust and stain. Harsh solvents strip the finish and can lift color from surrounding areas. Bleach on urine stains can lighten the wood unevenly and is not pet-safe. And never sand across the grain, the scratches you create will be more visible than the one you were fixing.
When to Repair vs. When to Call a Professional
Handle it yourself if the scratch is cosmetic, the frame is structurally sound, and you can match the finish tone. Most surface scratches and light chew marks fall into this category.
Call a professional if you see splitting along a joint, a leg that won't tighten, warping that changes how the bed sits, or chew damage that has exposed a joint or fastener. Those are structural, and a DIY patch can make them worse. If your bed is under warranty, check the terms first, many warranties exclude damage from chewing, urine, or improper cleaning, and a visible DIY repair can void coverage.
Preventing the Next Scratch
Most frame scratches come from three sources: the dog's nails, the vacuum attachment, and the bed being dragged across a hard floor. Regular nail trims remove the first, a brush attachment instead of a hard nozzle removes the second, and lifting the frame rather than sliding it, or fitting felt pads under the feet, removes the third. A frame that's never dragged and never vacuumed with a hard tool needs scratch repair far less often.
Long-Term Wood Preservation and Structural Integrity Checks
Long-term wood preservation is about consistency, not intensity. A frame that gets fifteen minutes of attention each week will outlast one that gets a deep clean twice a year.
Twice a year, do a full structural check:
- Press each corner and listen for creaks
- Check that all hardware is snug
- Look for hairline cracks near joints
- Confirm the frame sits flat with no wobble
- Re-condition any areas that look dry or faded
Solid hardwood holds up to this inspection far better than particleboard, which crumbles once moisture reaches the core. That's why we build with solid wood and back every frame with a ten-year structural warranty.
Common Mistakes That Damage Hardwood Dog Bed Frames
- Soaking the wood. A dripping wet cloth leaves standing water in the grain. Wring it out.
- Skipping the underside. Moisture and dust collect there first.
- Using human furniture polish. Many contain ingredients that aren't pet-safe.
- Ignoring loose hardware. A wobbly joint gets worse, not better.
- Letting the water bowl sit against the frame. Constant dampness is the fastest route to warping.
A hardwood dog bed is an investment, and like any piece of fine furniture, it rewards a little regular attention. The routines here take minutes a week, and they're the difference between a frame that lasts a decade and one that needs replacing in two years.
Mafé Pets builds the Haven with solid North American hardwood, real joinery, an orthopedic memory foam mattress, and a waterproof-lined, machine-washable design, all backed by a ten-year structural warranty. If you want a bed that's as easy to maintain as it is beautiful, shop the Haven and give your dog furniture worth keeping.
Frequently Asked Questions
How often should I polish a hardwood dog bed frame?
Polish a hardwood dog bed frame every three to six months, or whenever the wood looks dry or dull. In homes with forced-air heating or low humidity, you may need to polish more often. Always use a pet-safe wood polish and buff with a soft cloth. Between polishings, dust weekly and vacuum crevices to keep the finish clean and free of grit that can scratch the surface.
Can I use household cleaners on solid wood pet furniture?
Most household cleaners, including all-purpose sprays and bleach solutions, can strip the finish or leave toxic residue on solid wood pet furniture. Avoid anything with ammonia, bleach, or harsh solvents. For routine cleaning, a slightly damp cloth with mild soap works. For conditioning, choose a pet-safe wood polish. If you need to disinfect, use a pet-safe product and wipe dry immediately to prevent water damage on dog beds.
How do I remove scratches from a hardwood dog bed without harsh chemicals?
For light scratches, rub a walnut meat or a dab of pet-safe wood polish into the scratch along the grain. Deeper scratches may need a wood filler matched to your finish, followed by a light sanding and refinishing. Test any method on a hidden area first. Repairing scratches on hardwood frames early prevents moisture from seeping into exposed wood and causing swelling or warping.
What is the best way to prevent water damage on a wooden pet bed?
Preventing water damage on dog beds starts with a waterproof liner over the mattress and a machine-washable cover. Wipe up spills immediately, and place water bowls on a spill mat away from the frame. If the wood does get wet, dry it with a cloth and let it air dry completely before applying polish. Check the finish every few months and reapply a pet-safe sealant if you notice wear.